

Placing your first order: choosing a plan, cart and payment
Pick a plan, choose a billing period, add it to the cart and pay — your service is set up after payment.
Getting started · 2 min read
This guide walks you through ordering hosting, a cloud server or a domain from the site, start to finish.
1. Choose a service
Browse the groups under Servers or Hosting in the top menu; the Our services section on the home page also lists plans by category. If you are signed in, New order in the panel opens the same catalogue.
- Web hosting: ready-made plans for sites and email, in Starter, Standard and High Capacity families.
- Cloud servers (VPS/VDS): Core, Performance and Max Performance families with full administrator (root) access.
- Dedicated and GPU servers: dedicated hardware for demanding projects.
- Reseller hosting: plans for creating hosting accounts for your own customers.
2. Configure the plan
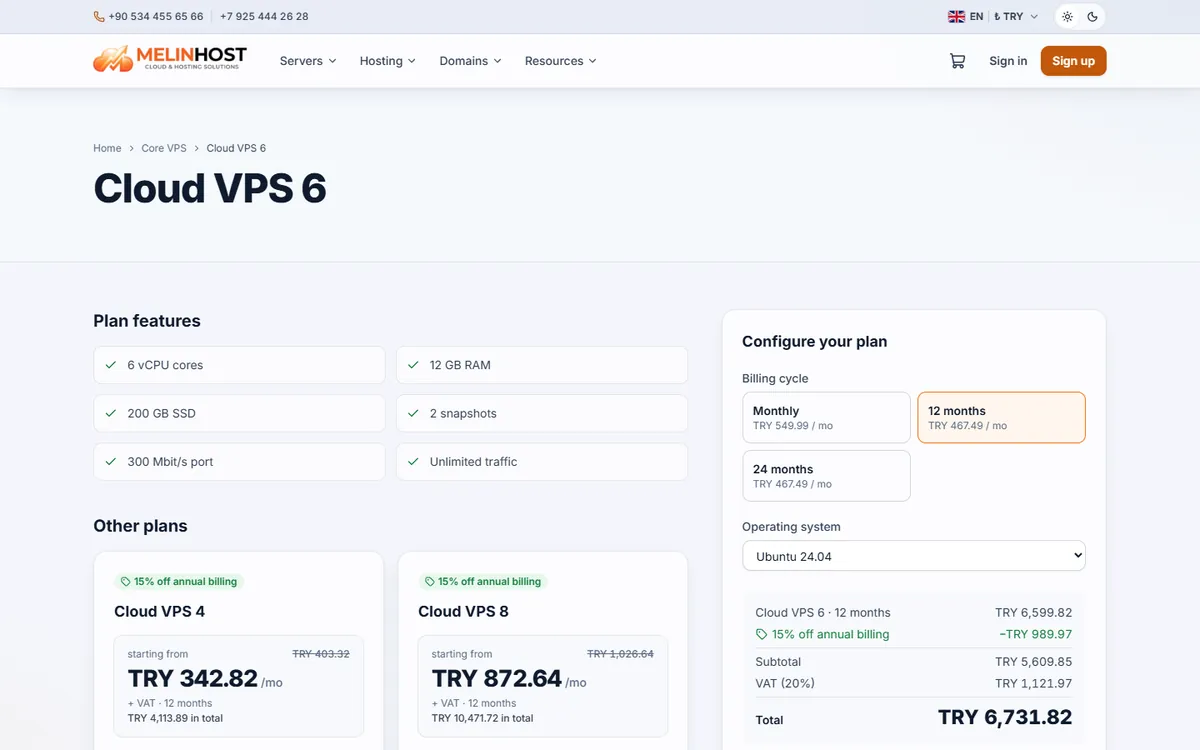
On the plan page pick your billing period: longer periods are discounted, and yearly payment on hosting plans includes 2 free months. For cloud servers you also choose the operating system (Ubuntu, Debian, AlmaLinux, Rocky Linux). You can add a new domain registration or transfer as well.
3. Add to cart and check out
- Use Add to cart; the cart shows quantities and the total.
- The payment step requires you to be signed in with a verified email (see How to create a customer account).
- Choose a payment method: credit/debit card, bank transfer or account balance (details in Payment methods).
4. Setup
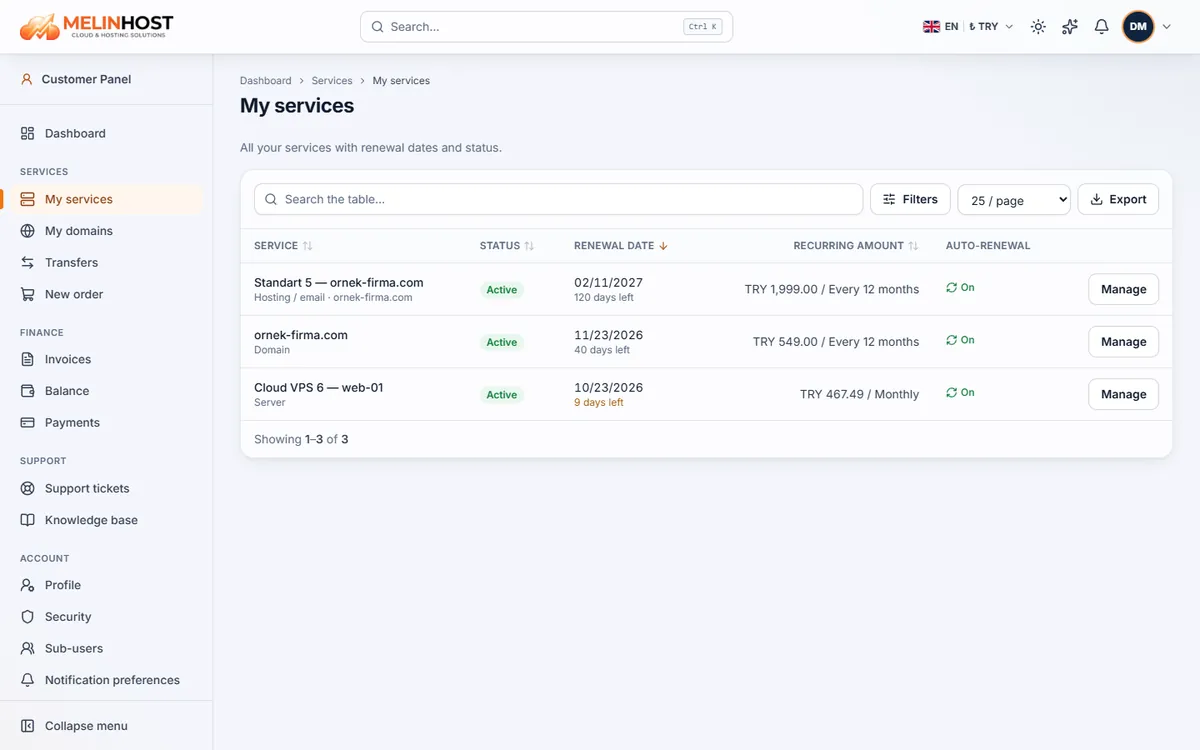
Once your payment is confirmed, hosting and cloud servers are set up automatically; access details are emailed to you and shown under My services. Some products, such as dedicated servers, GPU servers and reseller hosting, are completed by our team — you are kept informed along the way.
Tip: complete your billing details on the Profile page before ordering so your first invoice carries the right information.